Table of Contents
So, you have one type of stablecoin, like USDT, but you need another, say USDC. Swapping them is a fundamental move in crypto, but where you do it matters. The right platform depends entirely on what you're trying to accomplish—are you looking for the easiest path, total control over your funds, or the ability to jump between blockchains?
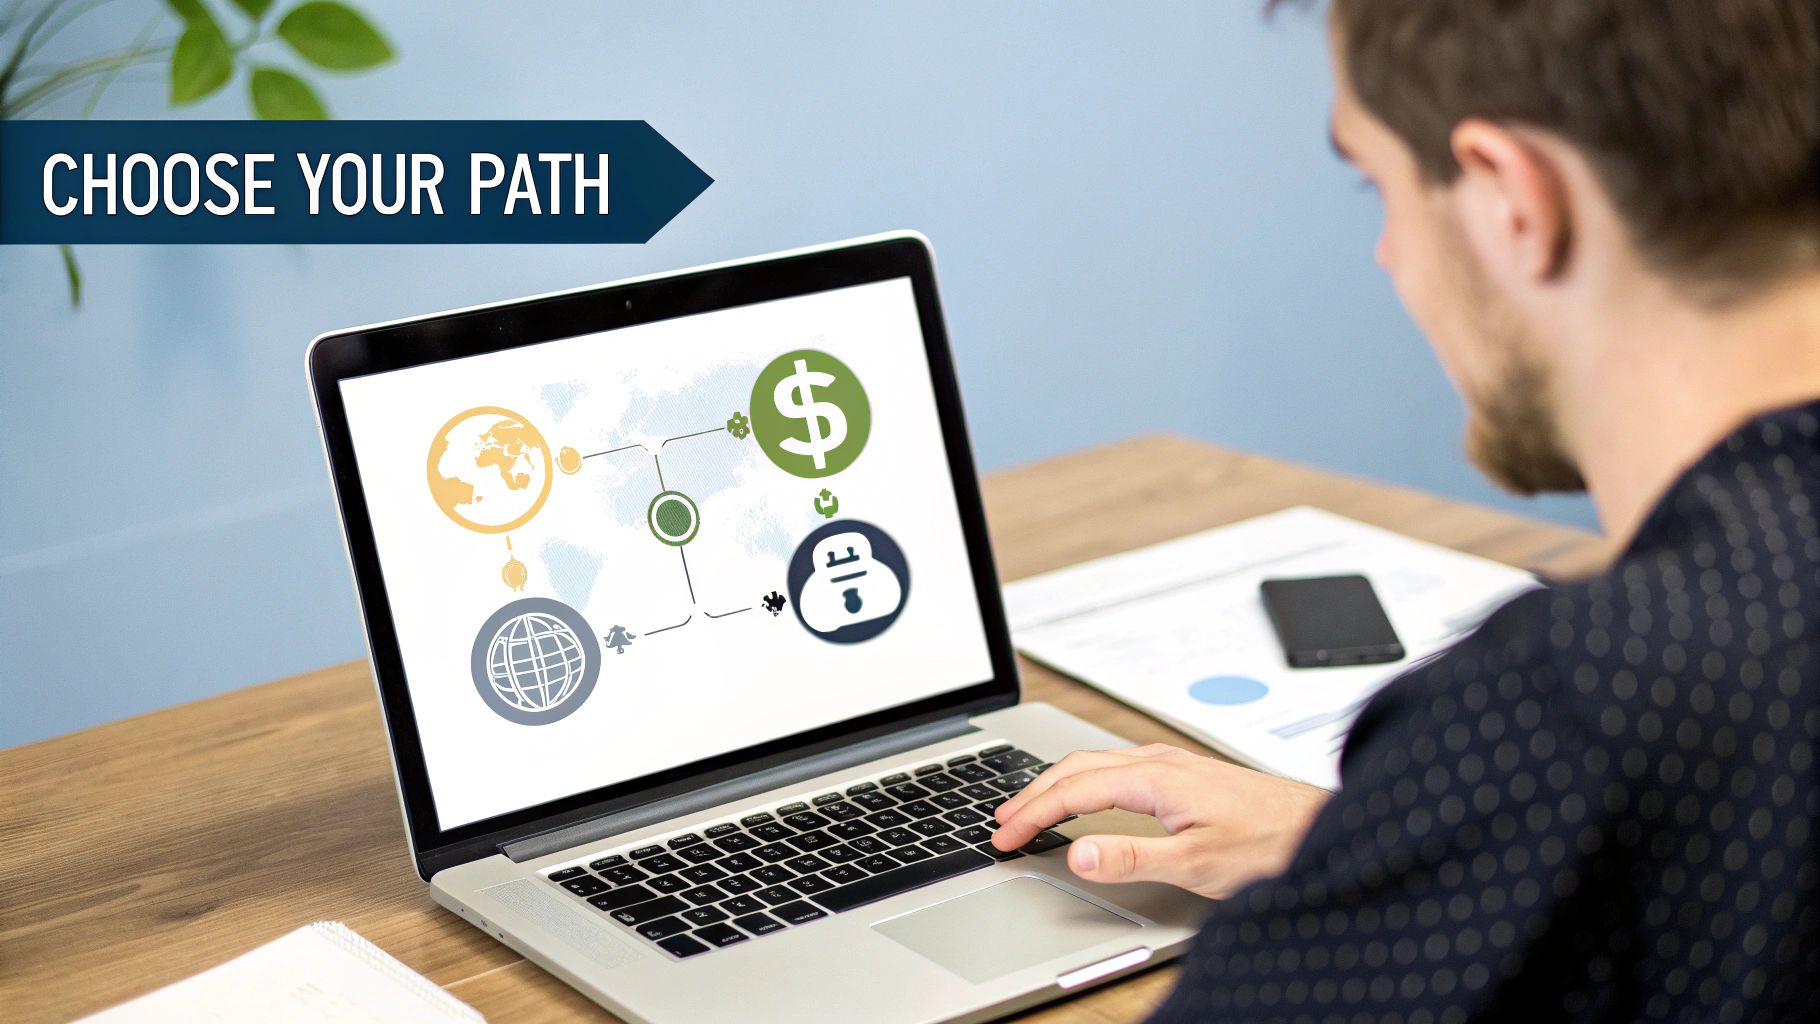
Your main options are Centralized Exchanges (CEXs), Decentralized Exchanges (DEXs), and Cross-Chain Bridges. Let's break down where and why you'd use each one.
Why And Where You Should Swap Stablecoins
It seems a bit counterintuitive, right? If all stablecoins are pegged to a dollar, why bother trading one for another? The answer lies in utility and opportunity. Different corners of the crypto world prefer different stablecoins.
For example, a DeFi lending protocol you want to use might offer higher yields on DAI deposits than on USDT. Or maybe you're diving into a new app on the Solana network, where native USDC is the preferred coin for liquidity and transactions. Swapping is how you get your funds into the right form to seize those opportunities.
This isn't a niche activity; it's a massive part of the crypto economy. In 2025, the total adjusted stablecoin transaction volume hit nearly $9 trillion over the last 12 months. That’s an 87% jump from the previous year, with a huge chunk of that volume coming from people moving between USDT and USDC, which dominate 87% of the stablecoin supply. You can dive deeper into this data over at a16zcrypto.com.
The Three Main Arenas for Swapping
Knowing how to swap stablecoins really just means knowing your venues. Each one has its own vibe, with different benefits and drawbacks.
- Centralized Exchanges (CEXs): Think Coinbase or Binance. These are the most beginner-friendly places to start. They offer simple interfaces, deep liquidity for fast trades, and you don't have to fuss with network gas fees for a simple swap.
- Decentralized Exchanges (DEXs): If you live by the "not your keys, not your crypto" mantra, DEXs like Uniswap or Curve are for you. You trade directly from your own wallet, keeping full control. The trade-off? You’re on the hook for gas fees and need to understand concepts like slippage.
- Cross-Chain Bridges: Got your stablecoins on Ethereum but need them on Polygon? A bridge is the only tool for the job. These platforms are built specifically to move assets from one blockchain to another.
To make it easier, here's a quick rundown to help you decide which path to take.
Choosing Your Stablecoin Swap Method
This table breaks down the three main methods to help you pick the right tool for your specific situation, whether you're prioritizing convenience, security, or low costs.
| Method | Best For | Key Advantage | Main Drawback |
|---|---|---|---|
| CEX | Beginners, simple conversions | Ease of use, no direct network fees | You don't own your private keys |
| DEX | DeFi users, self-custody advocates | Full control over your funds | You pay gas fees and manage risk |
| Bridge | Moving assets between blockchains | The only way to achieve interoperability | Can be complex and have security risks |
Ultimately, there's no single "best" platform—it’s all about context.
The choice between a CEX, DEX, or bridge isn't about which one is universally superior. It's about picking the right tool for the job, whether it's a quick conversion, a complex DeFi strategy, or a cross-chain jump.
If you value a smooth, simple experience, a CEX is a perfect starting point. If you refuse to give up custody of your funds, a DEX is your home. And for exploring the multi-chain world, bridges are indispensable. This flexibility is also why people are exploring other uses, which you can read about in our guide on how to use stablecoins to pay overseas in 2025.
Getting Your Wallet Prepped for a Swap
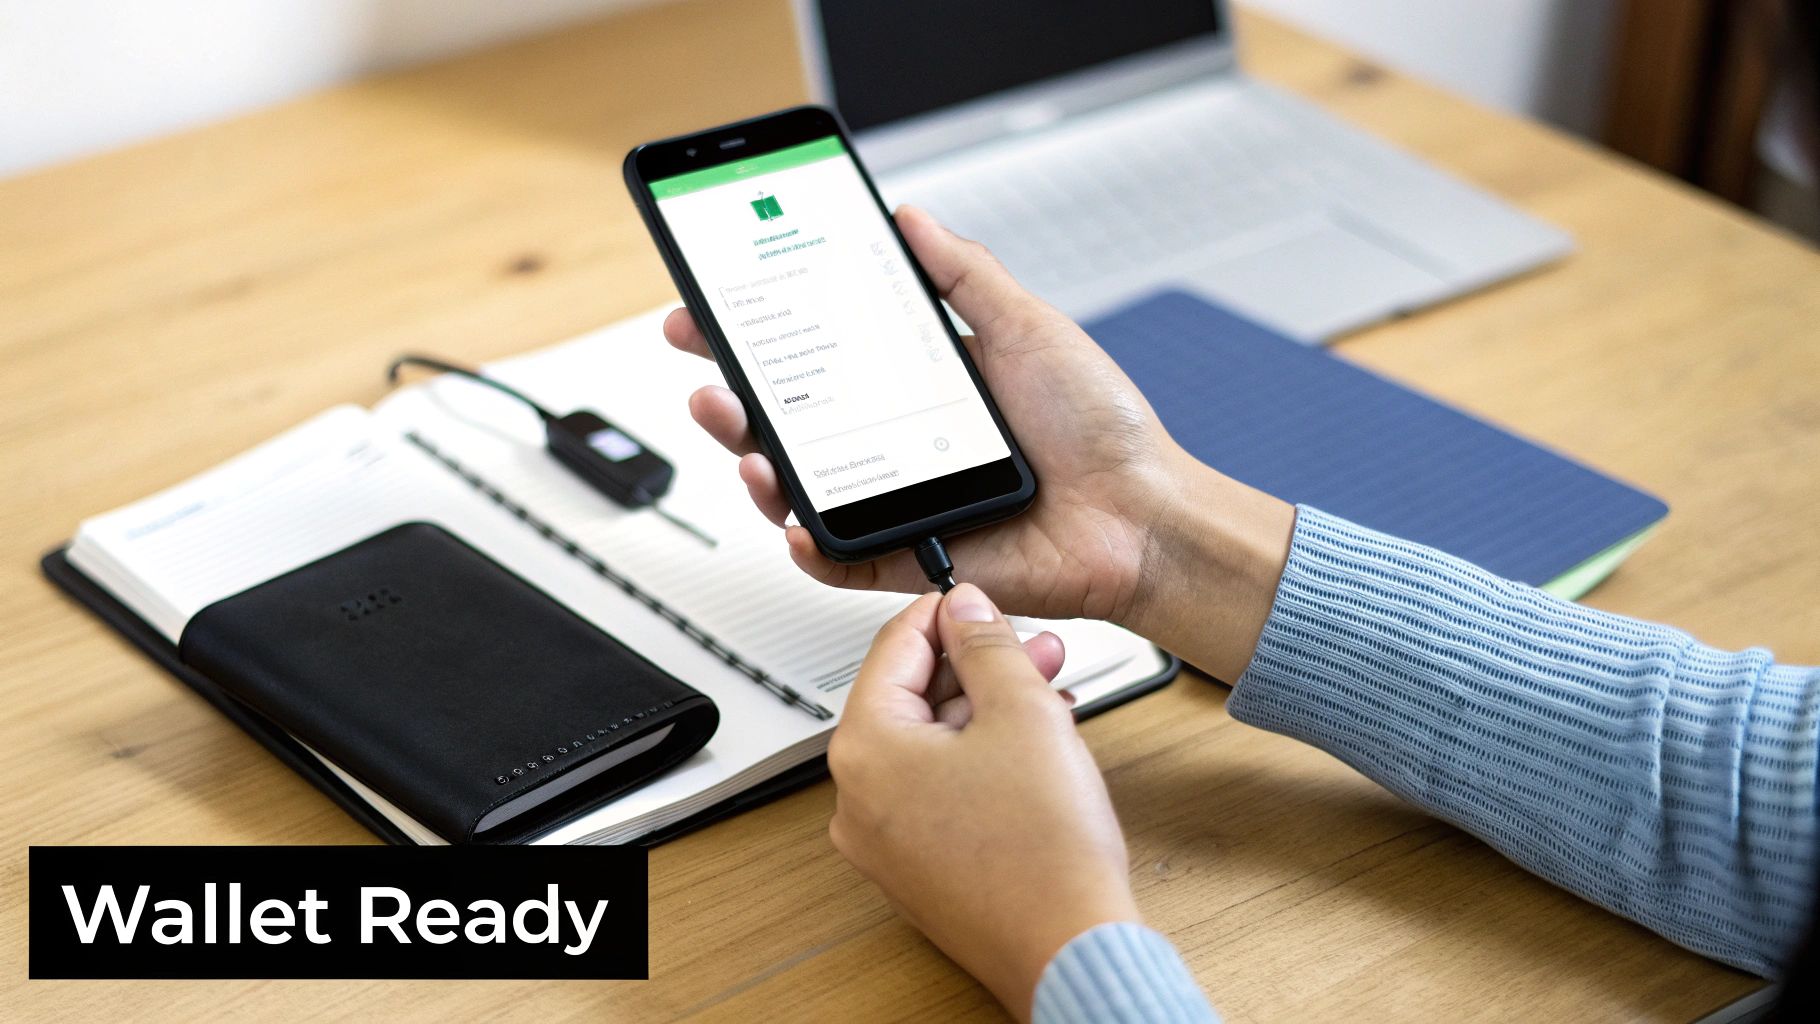
Before you can even think about making a swap, you've got to get your wallet in order. Think of it like prepping your kitchen before you start cooking—having everything in its right place makes the whole process smoother and a lot less stressful.
Your first big decision is whether to go with a custodial or non-custodial wallet. This choice really dictates where and how you'll be able to trade.
For any on-chain action on a DEX or a cross-chain bridge, a non-custodial (or self-custody) wallet isn't just a nice-to-have; it's a must. With wallets like MetaMask, Trust Wallet, or Phantom, you hold the private keys. That means you—and only you—are in full control of your funds.
I can't stress this enough: your seed phrase is the master key to your crypto life. Don't ever store it digitally. No password managers, no cloud notes, no screenshots. Write it down on paper and stash it somewhere safe that only you know about.
Now, if you're just dipping your toes in and plan to stick with a Centralized Exchange (CEX) like Coinbase or Binance, things are a bit simpler. The exchange gives you a custodial wallet, which means they manage the keys for you. Your setup is mostly about creating an account, turning on two-factor authentication, and getting through the identity verification (KYC) process.
Setting Up a Self-Custody Wallet
Let's dig into the self-custody route, since that’s your ticket into the world of DeFi. We'll use MetaMask as our example because it's so widely used. Getting it set up is pretty painless.
Just head over to the official website and grab the browser extension or mobile app.
During the setup process, you'll be shown your 12-word seed phrase. This is, without a doubt, the most important piece of information you'll be given. Write it down, check it twice, and then store that piece of paper somewhere it won’t get lost, wet, or thrown out. If you lose your device, that phrase is the only way you’re getting your funds back.
For a deeper dive, we've got a bunch of helpful guides covering everything you need to know about MetaMask.
Don't Forget to Fuel Up for Gas
Alright, wallet's ready. But before you swap, you need to load it up with two things:
- The Stablecoin You Plan to Swap: You'll need to send the stablecoin you're starting with (like USDT or USDC) from an exchange or another wallet.
- The Network's Native Token: This is the one that trips up so many beginners. You absolutely need the blockchain's native coin to pay for transaction costs, which are universally known as gas fees.
Think of gas fees as the fuel for the blockchain. They pay the validators or miners who process your transaction and add it to the chain. No gas, no transaction. It’s that simple.
- On the Ethereum network, you'll need ETH.
- Swapping on Tron? You'll need TRX.
- For anything on Solana, you must have some SOL.
This isn't a minor detail, especially when you consider where the action is. The bulk of stablecoin swaps happen on Ethereum and Tron. In the year leading up to 2025, USDT on the Tron network alone processed a staggering $3.4 trillion in volume. Over on Ethereum, USDC and USDT combined for $4.4 trillion.
Without a little ETH or TRX in your wallet to cover gas, you're basically locked out of this massive market. Now that your wallet is set up, funded, and has gas in the tank, you're finally ready to make a move.
Swapping Stablecoins on a Centralized Exchange
If you're just dipping your toes into crypto, a Centralized Exchange (CEX) is probably the most comfortable place to start. Think of platforms like Binance, Kraken, or Coinbase. They're designed to feel a lot like your online banking app, which intentionally strips away the intimidating parts of crypto.
The biggest draw here is sheer simplicity. Forget about managing gas fees or worrying that the price will slip before your transaction confirms. On a CEX, you're usually just a couple of clicks away from turning USDT into USDC. Most have a feature called "Convert" or "Trade" that makes these swaps instant and painless.
The CEX Swap in Action
Top-tier exchanges have polished this process until it's practically foolproof. You don't have to fuss with connecting an external wallet or signing off on confusing smart contracts. Everything just happens inside the exchange's self-contained world, which is a massive relief if you value convenience.
Typically, you'll find a dedicated "Convert" page. From there, you just pick the stablecoin you have, select the one you want, and type in the amount. The platform gives you a live quote, showing the exact amount you’ll receive. No hidden fees jump out at the last second—the rate you see is the rate you get.
This simple, three-step dance is pretty standard across the board, as this graphic shows.

It's this straightforward flow—select, enter, confirm—that makes CEXs the go-to for simple conversions. All the complicated blockchain stuff is handled for you behind the scenes.
Why It's So Appealing for Most People
People stick with CEXs for stablecoin swaps because they solve some of the most common headaches for anyone new to the space.
- Deep Liquidity: Big exchanges have massive trading volumes. This means you can swap large amounts of stablecoins without the price moving against you. The liquidity is there.
- No Obvious Gas Fees: When you use a "Convert" tool, the exchange is just updating its internal ledger. You won't pay a separate network fee (gas) for the swap, though the cost is baked into the spread they offer.
- An Interface Built for Humans: These companies spend millions on user experience. The whole process is intuitive, guiding you from A to B without needing a degree in computer science.
On a CEX, you’re essentially trading a bit of control for a lot of convenience. You trust the exchange with your funds, and in return, you get an experience that's fast, simple, and predictable.
This ease of use is a powerful feature. For a deep dive into one of the most user-friendly platforms, take a look at our complete breakdown of Coinbase for 2025. This approach lets you focus on your goal—swapping one stablecoin for another—without getting lost in the technical weeds.
Knowing What You Give Up
Of course, that convenience isn't free. When you use a centralized exchange, you're playing in their sandbox and by their rules. It's vital to understand the trade-offs.
The big one is custody. On a CEX, the old crypto saying applies: "Not your keys, not your coins." The exchange holds the private keys to your funds, giving them ultimate control. While top exchanges have Fort Knox-level security, they still represent a single point of failure. If they get hacked, your funds are at risk.
You also have to deal with regulation. Every legitimate CEX will require you to complete a Know Your Customer (KYC) process. This means uploading your ID and other personal information. It's standard practice, but it's a world away from the anonymous nature of decentralized finance.
Finally, while the swap itself feels fee-free, watch out for costs on the way in and out. You might pay a fee to deposit money, but it's more common to see withdrawal fees when you move your shiny new stablecoins to an external wallet. Always check the fee schedule so you know the full cost of using the platform.
Mastering Swaps on a Decentralized Exchange
When you're ready to move beyond centralized platforms, you step into the world of DeFi. This is where you get to be in full control. Swapping stablecoins on a Decentralized Exchange (DEX) like Uniswap or Curve Finance is a fundamental skill for anyone serious about crypto, as it means you’re trading directly from your own self-custody wallet.
This process gives you total sovereignty over your assets, which is incredibly empowering. But it also means you're in the driver's seat for managing new concepts like gas fees and slippage. It can feel a little intimidating at first, but once you get the hang of the moving parts, you'll be transacting on your own terms.
Connecting Your Wallet and Kicking Off the Swap
The first move on any DEX is always the same: connecting your wallet. Just look for a "Connect Wallet" button, which you’ll almost always find in the top-right corner of the page. Clicking it will trigger a signature request from your wallet (like MetaMask), which securely links it to the DEX's interface. No personal info required.
Once you’re connected, the swap interface is usually very intuitive. You’ll see two fields—one for the coin you have, and one for the coin you want. Let's say we’re swapping DAI for USDC. You’d select DAI in the "from" field, USDC in the "to" field, and punch in the amount.
Before you can make the actual trade, you'll almost certainly need to perform a token approval. This is a small, one-time transaction that gives the DEX’s smart contract permission to spend that specific stablecoin from your wallet. It's a key security step that ensures the protocol can only touch the asset you authorize for that trade.
Understanding the Key DEX Swap Settings
On a DEX, you're not just a passenger; you're the pilot. You have to set the terms of your trade, which means getting familiar with a few critical parameters that dictate how your swap gets executed and what it ultimately costs you.
Many seasoned traders use DEX aggregators to automatically find the best rates by scanning multiple liquidity sources at once. If you want to dive deeper into these powerful tools, check out our guide to the top stablecoin aggregators.
This clean layout, typical of modern DEXs, lets you set up a swap in seconds. Just pick your input and output tokens, and the platform handles the complex routing to find an efficient path for your trade.
Now, let's break down those settings you'll be controlling. These dials and knobs are what separate a good trade from a costly one.
DEX Swap Settings Explained
| Parameter | What It Means for Your Trade | Recommended Setting |
|---|---|---|
| Gas Fee | This is your payment to network validators for processing the transaction. A higher fee gets you to the front of the line. | Use the "Medium" or "High" preset during busy times to avoid a stuck transaction. For non-urgent swaps, "Low" is fine. |
| Slippage Tolerance | The maximum price change you'll accept between submitting the swap and its confirmation on the blockchain. It's your safety net. | For stablecoin-to-stablecoin swaps, 0.1% to 0.5% is usually safe. For more volatile assets, you might need 1%. |
| Transaction Deadline | A kill switch. It automatically cancels your swap if it isn't confirmed within a set time, protecting you from a bad price later on. | A deadline of 5 to 10 minutes is a good starting point. This prevents your swap from being stuck for hours. |
Getting these settings right is a skill you'll develop with experience. It's all about balancing speed, cost, and safety.
A Practical Guide to Slippage and Gas
Let’s really demystify slippage. Imagine you see a pair of shoes online for $100. You hit "buy," but in the seconds it takes for your payment to process, the price ticks up to $101 because they're selling out fast. That $1 difference is slippage.
On a DEX, prices can fluctuate in milliseconds. Setting a slippage tolerance of 0.5% on a $1,000 swap is like telling the protocol, "I'm okay receiving as little as $995 worth of my new stablecoin, but if the final price is any worse, just cancel my order." For stablecoin swaps, where prices are meant to be, well, stable, a tight tolerance like 0.1% is often perfect.
Pro Tip: During wild market swings, you might have to bump your slippage tolerance up to 1% or even higher just to get a transaction through. But be careful—doing so opens you up to getting a much less favorable price.
Gas fees, on the other hand, are all about priority. When the network is congested, think of it as a highway traffic jam. Paying a higher gas fee is like buying your way into the express lane. Most wallets give you real-time gas estimates, helping you pick a competitive fee without breaking the bank. Mastering this balance is key to swapping stablecoins efficiently on-chain.
Using Bridges to Move Stablecoins Across Chains
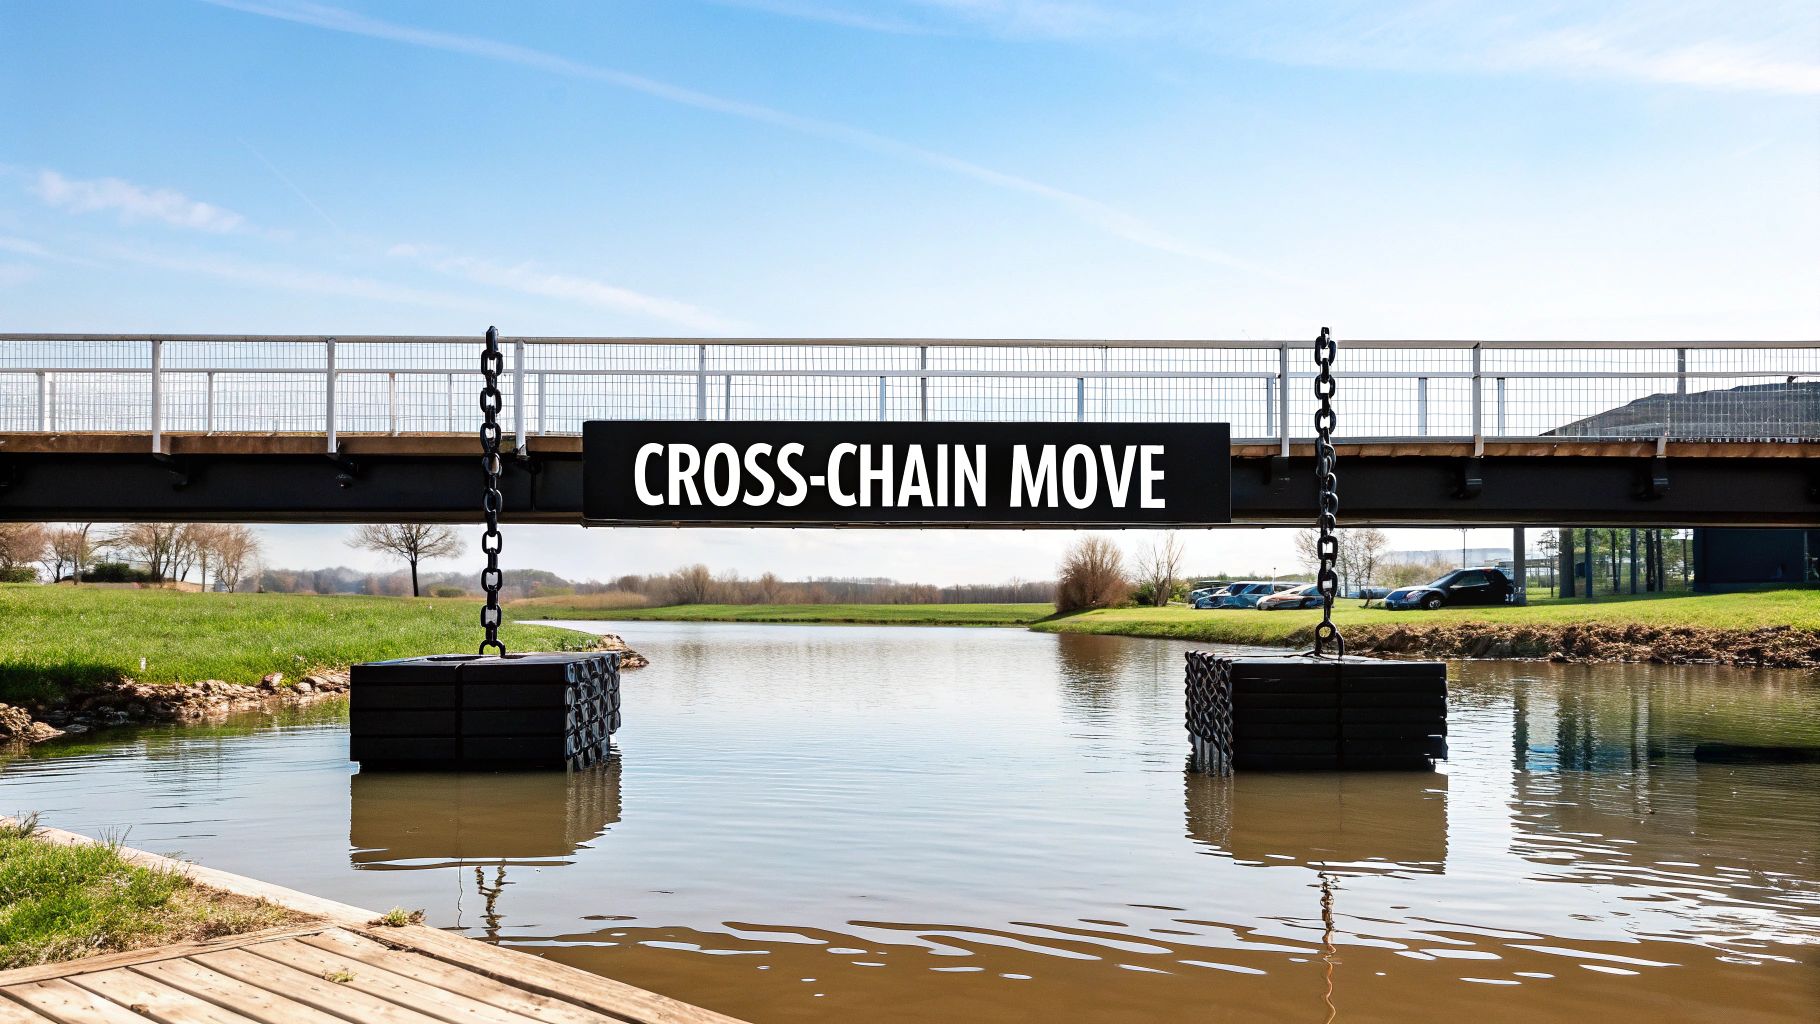
Centralized exchanges are simple, and DEXs give you control, but what happens when your funds are on one blockchain and the opportunity you want is on another? This is a situation you'll face constantly in crypto. Maybe you have USDC on Ethereum but spot a great lending rate on a Polygon dApp. This is precisely the problem cross-chain bridges were built to solve.
Bridges are the connective tissue of the crypto world. They are specialized platforms that let you send assets between completely independent blockchains, linking the otherwise siloed ecosystems of various Layer 1s and Layer 2s. Mastering how to use them opens up a world of possibilities that would otherwise be locked away.
How a Bridge Swap Works
Let's run through a real-world scenario: moving 1,000 USDC from the Ethereum mainnet over to the Polygon network. Whether you use a popular bridge like Stargate or Synapse, the fundamental steps are nearly identical.
First, you’ll head to the bridge's website and connect your crypto wallet—same as you would with any DEX. The interface is usually straightforward: it'll ask you to pick a source chain and a destination chain. For our example, you'd select Ethereum under "From" and Polygon under "To."
Next, pick the asset (USDC) and punch in the amount you want to send. The bridge will then spit out a quote, showing you exactly how much USDC you'll get on Polygon after any fees. If it all looks good, you'll approve two transactions in your wallet: one to allow the bridge to access your USDC, and a second to actually start the transfer.
A quick heads-up: bridging isn't instant. Depending on how busy the networks are and the bridge's specific design, it can take anywhere from a few minutes to over an hour. You'll need a bit of patience.
Once your transaction is confirmed on Ethereum, the bridge's smart contracts take over. A short while later, the corresponding amount of USDC will appear in your wallet on the Polygon network. You’ll just need to switch your wallet’s network setting to Polygon to see your newly arrived funds.
Vetting a Bridge for Security
Here’s the thing about bridges: they introduce a unique set of security risks that are much more serious than what you find on a typical CEX or DEX. Their complexity makes them a huge target for hackers. Because of this, doing your own due diligence before sending a large sum is absolutely critical.
Here’s a practical checklist I run through before trusting a bridge:
- Reputation and History: I stick to well-known, battle-tested bridges that have been around for a while. New, unaudited bridges are where you'll find the most risk.
- Transaction Volume: A bridge with a high Total Value Locked (TVL) and lots of daily volume is a good sign. It shows that the community trusts it enough to park real money there.
- Security Audits: Has the bridge been audited by reputable security firms? More importantly, have they made those audit reports public for anyone to see?
If you want to go deeper on this, our guide on crypto cross-chain bridges breaks down the different security models and risks in much greater detail. A little extra reading here can save you a massive headache later.
Native vs. Wrapped Assets: A Key Distinction
This is one of the most important things to get right. When you bridge USDC from Ethereum to Polygon, what you really want is native USDC on the other side—the official, Circle-issued version.
Some bridges, however, will give you a "wrapped" or synthetic token instead. This token is just an IOU from the bridge, representing your original USDC that's locked up in a smart contract back on Ethereum. While it's still pegged to a dollar, it carries extra smart contract risk and, crucially, might not be accepted by every dApp on the new network.
Always double-check what type of asset the bridge will be delivering. The best bridges, like Stargate, make it a priority to deal in native assets whenever possible. This focus on native tokens is a big reason for their popularity, as it ensures your funds are both secure and widely usable. Understanding this difference is key to a smooth cross-chain experience.
Got Questions? We've Got Answers
Even after you get the hang of CEXs, DEXs, and bridges, a few questions always seem to pop up. Think of this as your personal FAQ, where I’ll tackle the most common head-scratchers I hear from people learning to swap stablecoins.
What's the Absolute Cheapest Way to Swap Stablecoins?
Honestly, there's no single "cheapest" platform that wins every time. It really boils down to how much you're swapping and what you value more—simplicity or the best possible rate.
For smaller swaps, maybe a few hundred bucks, the "Convert" or "Swap" function on a big centralized exchange like Coinbase or Binance is usually your best bet. You avoid paying a direct on-chain network fee, which makes it a really cheap and easy option for quick, simple trades.
But once you start dealing with larger amounts, that hidden "spread" on a CEX can actually cost you more than a one-time gas fee on a DEX. For those bigger on-chain moves, I always turn to specialized DEXs like Curve Finance or a DEX aggregator. These platforms are built for this exact purpose, tapping into massive liquidity pools to keep slippage to a minimum. You'll often come out ahead, even after paying for gas.
Why Did My DEX Swap Just Fail?
It’s frustrating, I know. But when a DEX transaction fails, it almost always comes down to one of two things: gas fees or slippage.
The most common culprit is an insufficient gas fee. When a network like Ethereum gets busy, the validators who process transactions will naturally pick the ones offering a higher fee. If your gas is set too low, your transaction can get stuck in limbo for ages before it's eventually dropped. It's like trying to get a cab during rush hour—you have to be willing to pay the going rate.
The other big reason is the price moving outside your slippage tolerance. Let’s say you set your slippage to 0.5%. If a whale makes a huge trade a split-second before yours and the price moves by 0.6%, your swap will automatically fail. This is a safety feature designed to protect you from getting a terrible price. During really volatile market conditions, you might need to bump that slippage up to 1% just to get the trade to go through.
Are Cross-Chain Bridges Actually Safe?
This is a big one. While bridges are an incredible tool for moving assets between blockchains, they are, without a doubt, one of the riskiest corners of DeFi. Their technical complexity makes them a juicy target for hackers, and we've seen some massive, high-profile exploits drain hundreds of millions of dollars.
That said, you don't have to fly blind. You can dramatically lower your risk by being smart about it:
- Stick to the Leaders: Use well-known, battle-tested bridges with a long history and high trading volumes. This isn't the place to experiment with a new, unproven platform.
- Check the Audits: Make sure the bridge has been audited by several top-tier security firms. Legitimate projects will have this information front and center.
- Break Up Large Transfers: If you're moving a significant amount of money, consider sending it in smaller batches. It's a bit more work, but it limits your potential loss if something goes wrong.
Here's a pro tip I live by: Never, ever treat a bridge like a bank. Your goal is to get your funds from Point A to Point B as quickly as possible. Once the transfer is complete, move your assets out of any bridge-related contracts immediately.
Do I Have to Pay Taxes When I Swap Stablecoins?
Yes, this is a huge deal, and getting it wrong can be expensive. In many places, including the U.S., swapping one crypto for another is considered a taxable event.
So, when you swap USDT for USDC, you're technically "selling" one asset to "buy" another. This can trigger a capital gain or loss, even if the value seems identical. The exact tax rules depend entirely on your local laws, and trust me, they're always changing.
Because this stuff is so complex and location-specific, my strongest advice is to talk to a qualified tax professional in your area. They can give you guidance for your specific situation and make sure you're meeting all your reporting requirements. Don't just guess—it's not worth the risk.
At Stablecoin Insider, we provide the in-depth analysis and clear reporting you need to stay ahead. Explore our insights and make more informed decisions by visiting us at https://stablecoininsider.com.
