Table of Contents
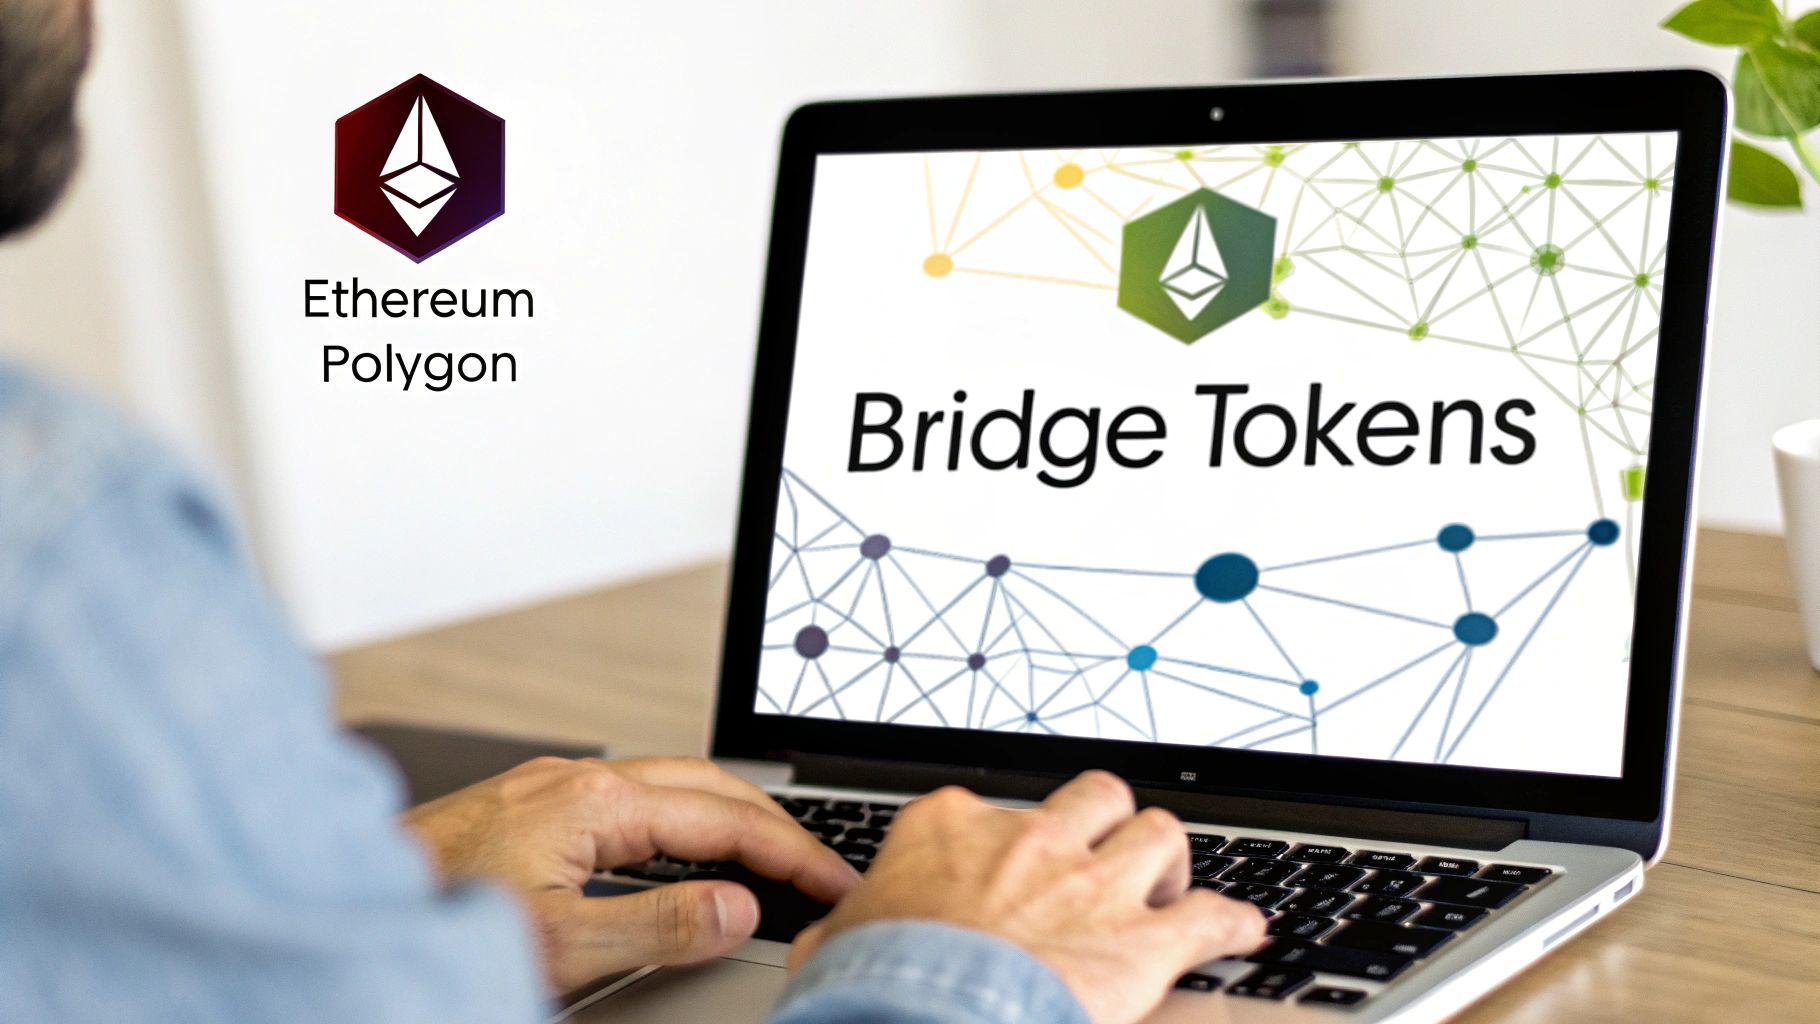
Think of bridging as the act of moving your crypto from one blockchain to another. It's like taking your USDC from the Ethereum network and transferring it over to Polygon so you can use it there. This magic is handled by a special type of application called a "bridge," which essentially locks your original tokens and mints a new, equivalent version on the new chain.
Why and How You Bridge Crypto Tokens
Let's say you've found a killer new DeFi protocol on Arbitrum, but all your capital is parked on the Ethereum mainnet. These two networks are like separate digital countries; they can't natively talk to each other. This is precisely the problem bridges solve. They serve as the secure pathways that let your assets travel between these otherwise siloed ecosystems.
This isn't some niche function anymore; it's a core component of today's multi-chain crypto world. To get a better feel for the assets moving around, it helps to understand the broader cryptocurrency landscape. The sheer scale of bridging shows just how vital it has become for anyone chasing lower fees, faster transactions, or unique opportunities on other chains.
The Rush for Interoperability
The infrastructure for cross-chain bridging has exploded. As of January 2025, the total value locked (TVL) in bridges hit a staggering $19.5 billion. That's a massive amount of capital relying on this technology to work.
But TVL is only part of the story. These platforms are now processing over $1.3 trillion in asset transfers annually, largely fueled by the relentless pace of decentralized finance. It's clear that the ability to move freely between chains is no longer a "nice to have"—it's a necessity.
A Bird's-Eye View of the Process
Before we dive into the nitty-gritty of choosing a bridge and double-checking security, it helps to know the basic flow. The user interface might change from one platform to another, but the core mechanics are surprisingly consistent.
At its most basic, here’s what you’ll be doing:
- Pick Your Bridge: You'll start by choosing a service that supports both your starting chain and your destination.
- Connect Your Wallet: This gives the bridge's smart contracts permission to interact with your crypto.
- Set Up the Transfer: Here, you'll specify the token, the amount, and where you want it to land.
- Approve & Confirm: You'll sign at least two transactions with your wallet—one to approve the token for spending and a second to actually kick off the transfer.
Getting these fundamentals down is your key to unlocking the entire crypto ecosystem. Once you're comfortable with this process, you can move capital from established Layer 1s to brand-new Layer 2s, opening up a world of investment and utility that would otherwise be out of reach. For a deeper technical dive, our guide on crypto cross-chain bridges has you covered.
How to Choose the Right Bridge for Your Assets
Picking a bridge isn't just about getting from chain A to chain B. It's a crucial decision that directly affects your funds' security, the fees you'll burn, and how long you'll be staring at your screen waiting for the transaction to complete. The wrong choice can easily lead to lost assets, surprise costs, or just a really frustrating afternoon.
Think of it this way: you wouldn't use a tiny rowboat to move a shipping container. In the same way, the bridge you use for a quick, small transfer to an L2 is probably not the one you should trust with six figures of capital headed to another L1 blockchain. It all comes down to understanding the tradeoffs.
The Main Flavors of Bridges
Your first move is to figure out what kind of technology you're dealing with. Bridges generally fall into three buckets, and each comes with its own security model and feel.
Canonical Bridges: These are the "official" bridges built and run by the blockchain or Layer-2 network itself. The Arbitrum Bridge, for example, is the native pathway from Ethereum to Arbitrum. They’re usually the safest bet because their security is baked right into the network's own protocol. The catch? They can be slow and sometimes more expensive.
Wrapped Token Bridges: These third-party bridges work on a "lock-and-mint" system. You send your ETH, the bridge locks it in a smart contract on the source chain, and then it mints a synthetic or "wrapped" version (like wETH) on the destination chain. These often support way more chains and tokens, but they come with a big asterisk—you have to trust the bridge operator not to lose or misuse the assets they're holding.
Liquidity Networks: This type acts more like a cross-chain currency exchange. Instead of locking and minting, they maintain pools of native assets on different chains. When you bridge USDC from Ethereum, the protocol pays you out from its native USDC pool on Polygon. Bridges like Stargate pioneered this model, delivering fast, low-slippage transfers that are great for stablecoins. Their security hinges on the quality of their smart contracts and how much liquidity is in their pools.
Your Pre-Flight Checklist for Vetting a Bridge
Before you ever connect your wallet, run through these questions. A few minutes of due diligence can save you from a major headache.
- What's the security model? Is it an official bridge secured by the L2 itself, or a third-party protocol with its own set of validators? Knowing who you're trusting is everything.
- Has it been audited? Look for public audit reports from reputable security firms like Trail of Bits or CertiK. No recent, public audits is a huge red flag.
- How deep is the liquidity? For liquidity networks, thin pools can cause failed transactions or nasty slippage, meaning you get fewer tokens than you expected. Always check the pool sizes for the assets you're moving.
- What are the total costs? Don't get fooled by a low advertised fee. You have to add up the source chain gas, the destination chain gas, and the bridge's own cut. These can stack up fast, especially when networks are busy.
- How long is this going to take? Official canonical bridges can sometimes take hours—or even days—for withdrawals back to the mainnet. Third-party bridges are often much faster, sometimes taking just a few minutes. Match the bridge's speed to your own urgency.
Choosing a bridge is always a balancing act between security, speed, and cost. There is no single "best" bridge for everyone—only the best one for your specific situation. For high-value transfers, the rock-solid security of a canonical bridge is often worth the wait. For a quick stablecoin swap between ecosystems, a well-audited liquidity network is probably your best bet.
Market Concentration and Its Risks
The bridging world is surprisingly concentrated. The top 5 bridges, including big names like Wormhole, LayerZero, and Stargate, currently handle nearly 80% of all cross-chain traffic. This is a double-edged sword.
On one hand, it shows these protocols are battle-tested and trusted by the market. On the other, it creates a massive systemic risk. A major exploit on one of these giants could send shockwaves across the entire DeFi ecosystem. As you do your homework, it’s a good idea to see how the top players stack up in our list of the best crypto cross-chain bridges in 2025.
It's no surprise that Ethereum is still the hub of all this activity, accounting for over 60% of total cross-chain volume. This really cements its role as the foundational security layer where most multi-chain value originates. You can dive deeper into these blockchain interoperability stats to see the trends. Understanding these market dynamics helps you pick a bridge that aligns with your risk tolerance and goals.
A Walkthrough of the Bridging Process
Alright, theory is great, but let's get our hands dirty. We've talked about how to pick a bridge, so now it’s time to actually use one. I'll walk you through a common scenario: moving USDC from the Ethereum mainnet over to Arbitrum using Stargate Finance, a well-known liquidity bridge.
This process is pretty representative of what you'll encounter with most bridges. The user interface might look a bit different from one platform to another, but the core mechanics—connecting your wallet, selecting your chains, approving the token, and signing off on the transfer—are nearly identical everywhere.
Choosing the right bridge really boils down to your immediate priority. Are you focused on iron-clad security, finding the absolute lowest fees, or just getting it done as fast as possible? This decision tree can help you visualize that thought process.
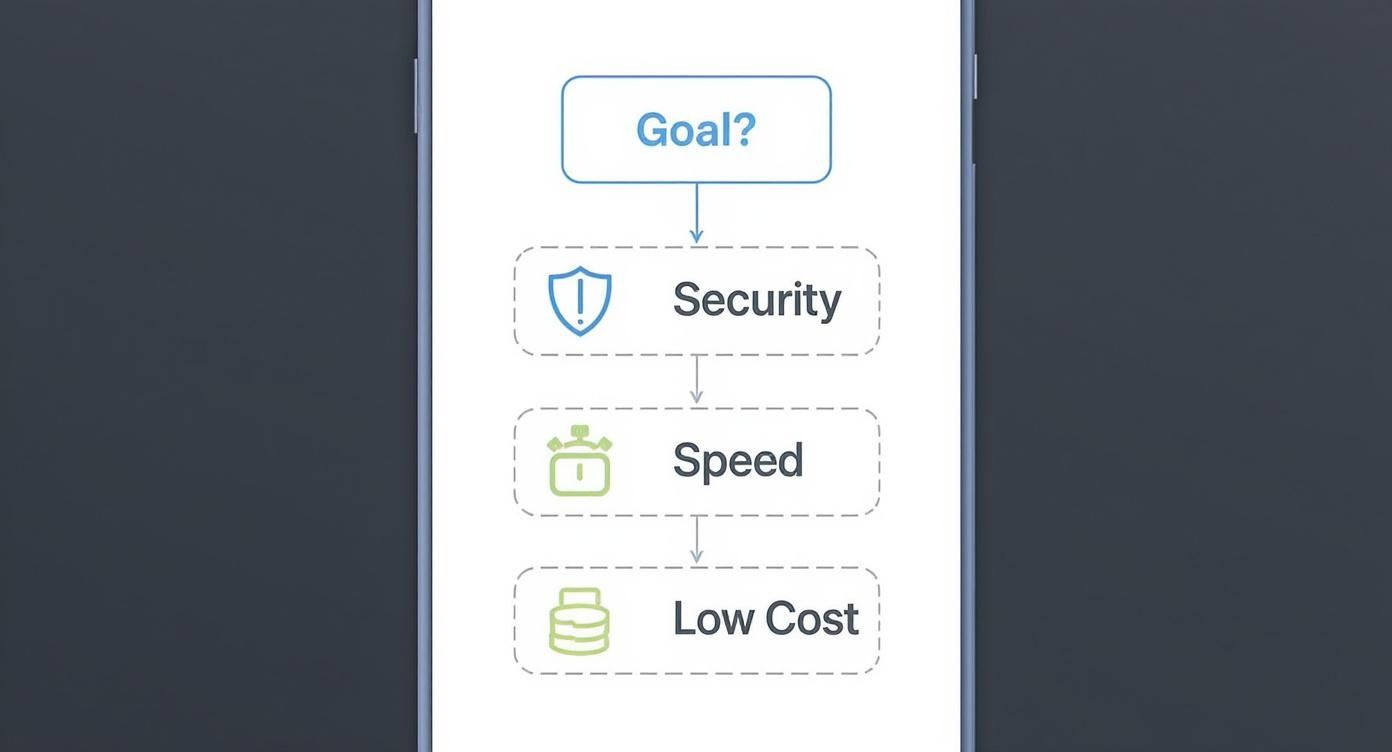
As you can see, what you need dictates the tool you should use. It keeps you from getting stuck on a slow, expensive canonical bridge when a quick liquidity network would have been a much better fit for your needs.
Getting Your Wallet Ready for the Journey
Before you even navigate to a bridge's website, a little prep work can save you a lot of headaches. I’ve seen countless beginners get tripped up by forgetting about gas fees. Every single on-chain action requires a fee, and it's always paid in the network's native token.
Since we're starting on Ethereum, you absolutely must have some ETH in your wallet to pay for the transaction. It doesn't matter that you're sending USDC; the network itself only accepts ETH for its fees. A good rule of thumb is to have at least $20-$50 worth of ETH on hand. Gas prices can spike unexpectedly, and it's better to have a small buffer than to have a transaction fail.
Here’s your quick pre-flight checklist:
- Gas Money: Make sure you have enough ETH on the Ethereum network to cover two separate transactions (we'll get to that in a minute).
- The Right Tokens: Double-check that the USDC you want to send is actually on the Ethereum network.
- Wallet Open: Have your browser wallet, like MetaMask, unlocked and already set to the Ethereum network.
Using the Bridge Interface
Wallet prepped? Great. Head over to Stargate. The very first thing you’ll do is connect your wallet. This will trigger a pop-up asking for permission to view your wallet address and token balances, which is standard practice.
Once connected, you'll see a clean, simple interface where you lay out the plan for your transfer.
The layout is designed to be intuitive, showing you exactly where the funds are coming from and where they're headed.
For our specific goal, you'd fill it out like this:
- Token: Select USDC from the asset dropdown.
- Amount: Punch in how much USDC you want to send.
- Source Chain: Choose "Ethereum" under the "From" section.
- Destination Chain: Select "Arbitrum" under the "To" section.
Pro Tip: Before you smash that "Transfer" button, pause and look at the details at the bottom. It will break down the estimated amount you'll receive, the bridge fee, and any potential slippage. This is your last chance to make sure everything looks right.
The Two-Step Confirmation Dance
This is where a lot of newcomers get confused. Bridging isn't just one click. For security reasons, it’s a two-step process that involves two separate on-chain transactions.
First, you'll be asked to Approve the token. This transaction doesn't move your funds anywhere. Instead, you're just giving the Stargate smart contract permission to interact with your USDC. Think of it like pre-authorizing a charge on your credit card; you've given permission, but the money hasn't actually been taken yet. This step costs a gas fee.
Once that approval transaction is confirmed on the blockchain, the main "Transfer" button will light up. Clicking it initiates the second and final transaction. This is the one that actually pulls the USDC from your wallet and sends it into the bridge to begin its journey to Arbitrum. Naturally, this costs a gas fee as well.
If you're curious about the tech that makes this kind of seamless transfer possible, you can get a more technical overview of how to bridge tokens using LayerZero.
Making Sure Your Funds Arrived Safely
After you sign that final transaction, it’s a short waiting game. Most modern liquidity bridges are surprisingly fast, and you can often expect your funds to arrive in just a few minutes. The bridge's website will usually give you a link to a block explorer so you can track the status.
But if you want to be 100% certain, you can verify it yourself.
- Check the Source Explorer: Use a block explorer like Etherscan to look up your wallet address. You should see an outbound transaction showing your USDC moving to the Stargate contract.
- Check the Destination Explorer: Switch your MetaMask network over to Arbitrum. Now, use an Arbitrum-specific explorer like Arbiscan to check your same wallet address. You should see a new incoming transaction for the USDC you just bridged.
Once you see that USDC balance in your wallet on the Arbitrum network, you're done! The bridge is crossed. Your funds are now ready to be put to work in the Arbitrum ecosystem.
Navigating Fees, Slippage, and Hidden Costs
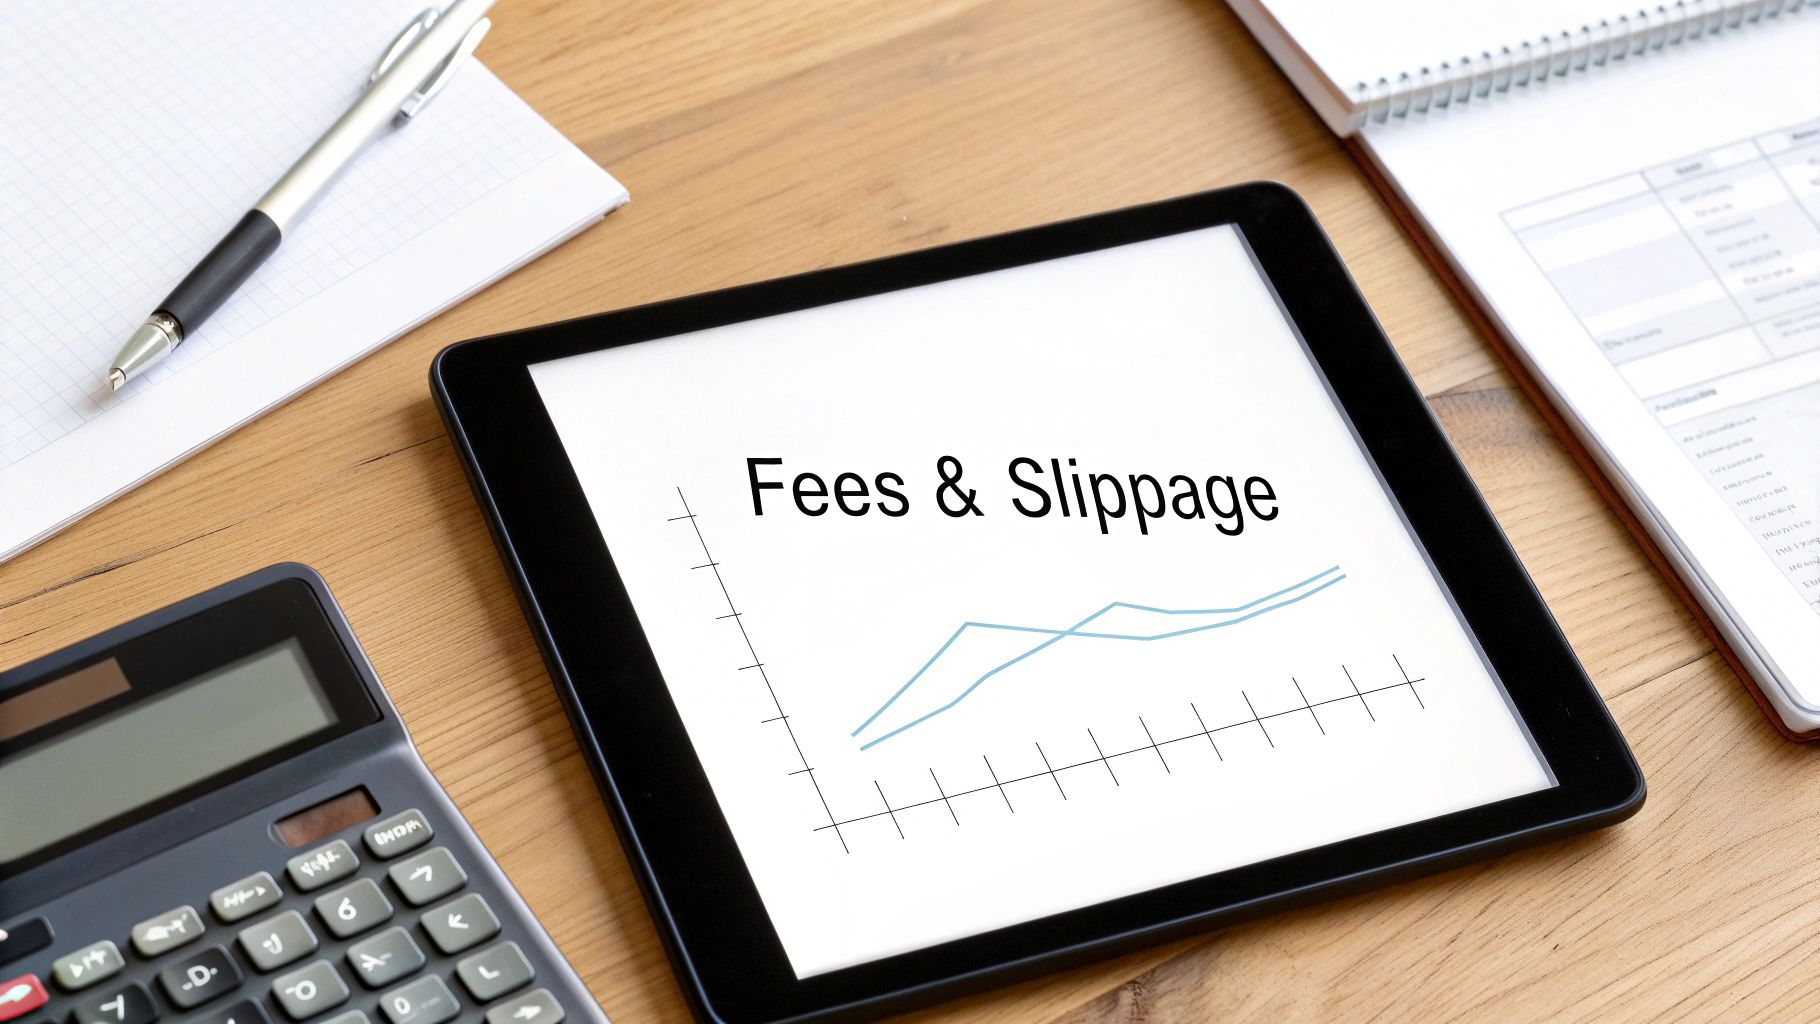
Getting your tokens to another chain is one thing. Doing it without getting hammered by fees is the real trick. So many people focus on just getting the transaction done, only to get a nasty surprise when they see how much actually landed in their destination wallet.
To bridge like a pro, you have to understand the full cost breakdown. You’re not paying just one fee. In most cases, you're paying at least three different costs, and they can stack up fast, especially when the network is busy.
Deconstructing Bridge Fees
The total dent in your wallet from a cross-chain transfer is a mix of network fees (gas) and the bridge's own cut. If you ignore any one of these, you’re setting yourself up for a much more expensive trip than you planned.
So, let's pull back the curtain on what you’re actually paying for:
- Source Chain Gas Fee: This is what you pay to kick things off on the blockchain you're leaving, like Ethereum. It's the fee for miners or validators to process the transaction that locks your tokens into the bridge's smart contract.
- Bridge Service Fee: This is how the bridge provider keeps the lights on. It might be a small flat fee or, more commonly, a percentage of the amount you're sending.
- Destination Chain Gas Fee: Someone has to pay to mint or unlock your tokens on the new chain. Even though the bridge handles the mechanics, that cost gets passed on to you, usually bundled into the total fee shown in the interface.
The real killer, and the most unpredictable part of this whole equation, is the source chain gas fee—especially if you're coming from Ethereum. I've seen simple bridge transactions cost more in gas than the actual value being sent, just because it was done at the wrong time of day.
Practical Tips for Minimizing Costs
You don't just have to accept high fees as a fact of life. A little bit of strategy goes a long way in cutting down the cost of your cross-chain moves.
The easiest win? Time your transaction. Network traffic, particularly on Ethereum, has a clear rhythm. It tends to spike during U.S. business hours and gets much quieter overnight and on weekends. Fire up a gas tracker tool, find a quiet period, and you could execute your transfer for a tiny fraction of the peak cost.
Also, think about batching your transfers. If you know you'll be moving funds multiple times over a few days, it's almost always cheaper to do it in one larger transaction. This helps you avoid paying the fixed parts of the fee over and over again.
The Silent Killer: Slippage
Fees are obvious, but there’s another cost that can quietly drain your funds: slippage. This is a massive deal for any bridge that relies on liquidity pools, and it’s where the price of an asset changes in the split second between when you hit "confirm" and when your transaction actually gets processed.
Slippage bites you when there isn't enough liquidity to absorb your trade without moving the price. Think about swapping a big chunk of USDC for ETH. A large order can single-handedly push the price of ETH up inside that specific pool, meaning you end up with less ETH than the initial quote suggested.
Even a seemingly tiny 1% slippage on a $10,000 transfer is an instant $100 loss.
To fight back, always glance at the liquidity available for the pair you're trading. Good bridge interfaces also let you set your slippage tolerance, which is the max price change you're willing to eat. Setting it low—say, 0.5%—is a great way to protect yourself from getting a bad deal, but be warned: if the market is choppy, your transaction might fail.
Mastering these variables is just as important as when you learn how to swap stablecoins for the best exchange rate. A smart, deliberate approach here will save you a surprising amount of money over the long run.
Why Bridging Stablecoins is a Whole Different Ball Game
On the surface, moving stablecoins like USDC and USDT from one chain to another seems simple. But it’s one of those things that hides a nasty "gotcha" that can catch anyone off guard. The real issue isn't just getting your funds across—it's which version of the stablecoin you get on the other side.
Mess this up, and you can easily end up with a token that major DeFi protocols won't touch.
The whole problem boils down to native versus bridged stablecoins. A native stablecoin is the real deal, officially issued by the parent company (like Circle's USDC on Polygon). A bridged or wrapped version is a synthetic IOU created by a third-party bridge, often with a funky ticker like USDC.e or axlUSDC.
Native vs. Bridged: The Make-or-Break Difference
Let's walk through a common scenario. Say you want to move some USDC from Ethereum over to Avalanche. If you use the official Avalanche Bridge, what you get is USDC.e. It's a wrapped version, not the native USDC that Circle issues directly on the Avalanche network.
This isn't just a naming quirk. They might both be pegged to a dollar, but they are not the same asset and can't be used interchangeably.
Go try to deposit your freshly bridged USDC.e into a big platform like Aave or Trader Joe, and you'll hit a wall. Their liquidity pools and lending markets are built around the native version. To use their services, you’d first have to find a DEX, swap your USDC.e for native USDC, and eat the extra gas fees and slippage. It's an unnecessary, and often costly, headache.
For a deeper dive into how this plays out across different networks, check out our guide on bridging stablecoins between Ethereum, Solana, and Layer-2s.
The Rise of Unified Liquidity Bridges
This fragmentation problem became so common that a smarter solution had to emerge. That’s where a new class of bridges, designed specifically for stablecoins, came into play. Protocols like Stargate Finance tackled this head-on with a unified liquidity model.
Instead of wrapping and minting synthetic tokens, these bridges maintain massive pools of native stablecoins on every chain they support. When you bridge your USDC, they don't create a new wrapped asset. They simply pay you out from their existing native USDC reserves on the destination chain.
This approach is a game-changer. It completely sidesteps the wrapped asset problem and practically eliminates slippage, since you're tapping into one deep, shared pool of capital instead of dozens of fragmented ones.
This model is quickly becoming the gold standard. It’s no surprise, given the explosive growth in stablecoin use for cross-chain activity. We’ve seen the total supply skyrocket from $5 billion to $305 billion in just five years. In September 2025 alone, a staggering $772 billion in stablecoin volume was settled on Ethereum and Tron.
Stargate, powered by LayerZero, has cemented itself as a leader here, offering this seamless experience across more than 15 chains. As stablecoins become more integrated into global finance—see the latest insights on blockchain powering cross-border payments on bvnk.com—understanding these mechanics is no longer optional. It’s essential for keeping your capital liquid and ready for any opportunity, no matter which chain it lives on.
Common Questions About Bridging Tokens
Even if you've done your homework, sending a big transaction across a bridge for the first time can be a nail-biting experience. It's easy to get anxious when things don't show up instantly or the interface looks a little different than expected. Let's walk through some of the most common questions and sticking points that trip people up.
Knowing what to expect and what can go wrong is half the battle. These are the issues I see pop up time and time again, for both newcomers and crypto veterans.
What Happens If My Token Bridge Transaction Gets Stuck?
First things first: don't panic. This is a lot more common than you might think. Blockchains aren't instant, and network congestion can cause significant delays.
Your first move should be to find your transaction hash (the "TxID") and plug it into a block explorer for the source chain, like Etherscan for Ethereum.
If the explorer shows your transaction is still "Pending" after a while, it’s almost always a gas fee problem. The fee you set was likely too low for the current network traffic. Most wallets have a "Speed Up" button that lets you resubmit the same transaction with a higher gas fee to get it unstuck. If it says "Failed," your tokens are safe—they never left your wallet. You did, however, lose the gas fee you paid for the attempt.
What if the source transaction shows as "Success" but your tokens are nowhere to be found on the destination chain? This is where you need to check the bridge's own transaction explorer or status page. If you can't find it, head to their official Discord for support. Make sure you have your transaction hash handy; their team will need it to find your funds and, if necessary, manually complete the transfer.
A "stuck" transaction is almost never a "lost" one. With a block explorer and a little patience, you can figure out what’s going on. The best bridges have recovery systems for these exact situations, but it might take a few hours to get sorted.
Is It Actually Safe to Use a Token Bridge?
There's no simple "yes" or "no" here—safety is a spectrum. The two biggest risks you face are smart contract bugs and outright scams. A clever exploit in a bridge's code can put every single asset locked within it at risk, which is why reputation and testing are everything.
To keep yourself safe, stick to the heavyweights in the space.
- Official L2 Bridges: The canonical bridges for networks like Arbitrum or Optimism are your safest bet. Their security is fundamentally tied to the L2 network itself, which is about as good as it gets.
- Audited Third-Party Bridges: Big names like Stargate, Hop, or Wormhole have massive amounts of Total Value Locked (TVL) for a reason. They've been through multiple security audits from top firms, but you should always verify the audit reports yourself.
Be incredibly skeptical of new bridges that suddenly appear promising zero fees or wild rewards. They are frequently scams designed to get you to approve a malicious contract that drains your wallet.
For very large transfers, I always recommend splitting the amount into a few smaller transactions. It costs a bit more in gas, but it limits your exposure if one of those transactions hits a snag. Remember, no bridge is 100% risk-free. Always proceed with a healthy dose of caution.
Can I Bridge Any Token I Want to Any Chain?
Unfortunately, no. A bridge has to be specifically built to support a token for a specific route. This requires two things: a version of that token (either native or wrapped) must already exist on the destination chain, and there has to be a liquidity pool for it.
You’ll find that the big players—ETH, WBTC, USDC, and USDT—are supported on almost every major bridge and chain. But for smaller, less common altcoins, your options get thin very quickly. The bridge’s user interface will always have a dropdown menu showing exactly which tokens you can send between the chains you've selected.
If your altcoin isn't on the list, there’s a standard workaround:
- On the source chain, swap your altcoin for a widely-supported asset like USDC.
- Bridge that USDC over to the destination chain.
- Once it arrives, swap the USDC back into the altcoin you originally wanted.
It’s a bit of a hassle and adds a couple of extra transaction fees, but this two-swap method is a reliable way to move value when a direct bridge for your token doesn’t exist.
At Stablecoin Insider, we provide the in-depth analysis you need to understand the tools and technologies shaping decentralized finance. Explore our insights to stay ahead in the world of digital assets. https://stablecoininsider.com